Get your website online in 5 minutes
We’ve already registered our domain name (purchased the address) and leased our hosting (acquired the land). The next step is to build our website’s core (the foundation house).
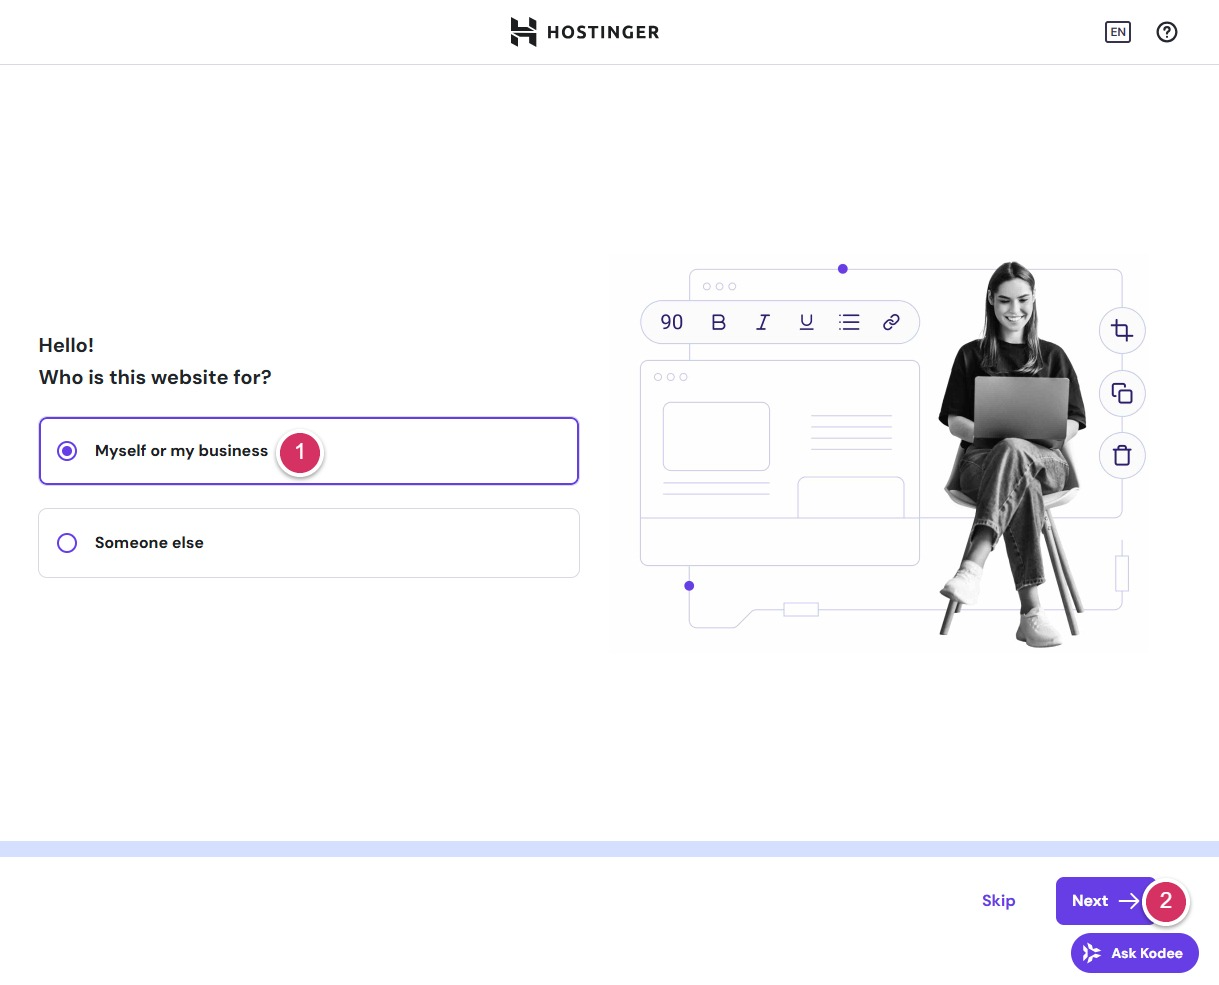
- Choose to build a website for yourself or for clients
- Click Next
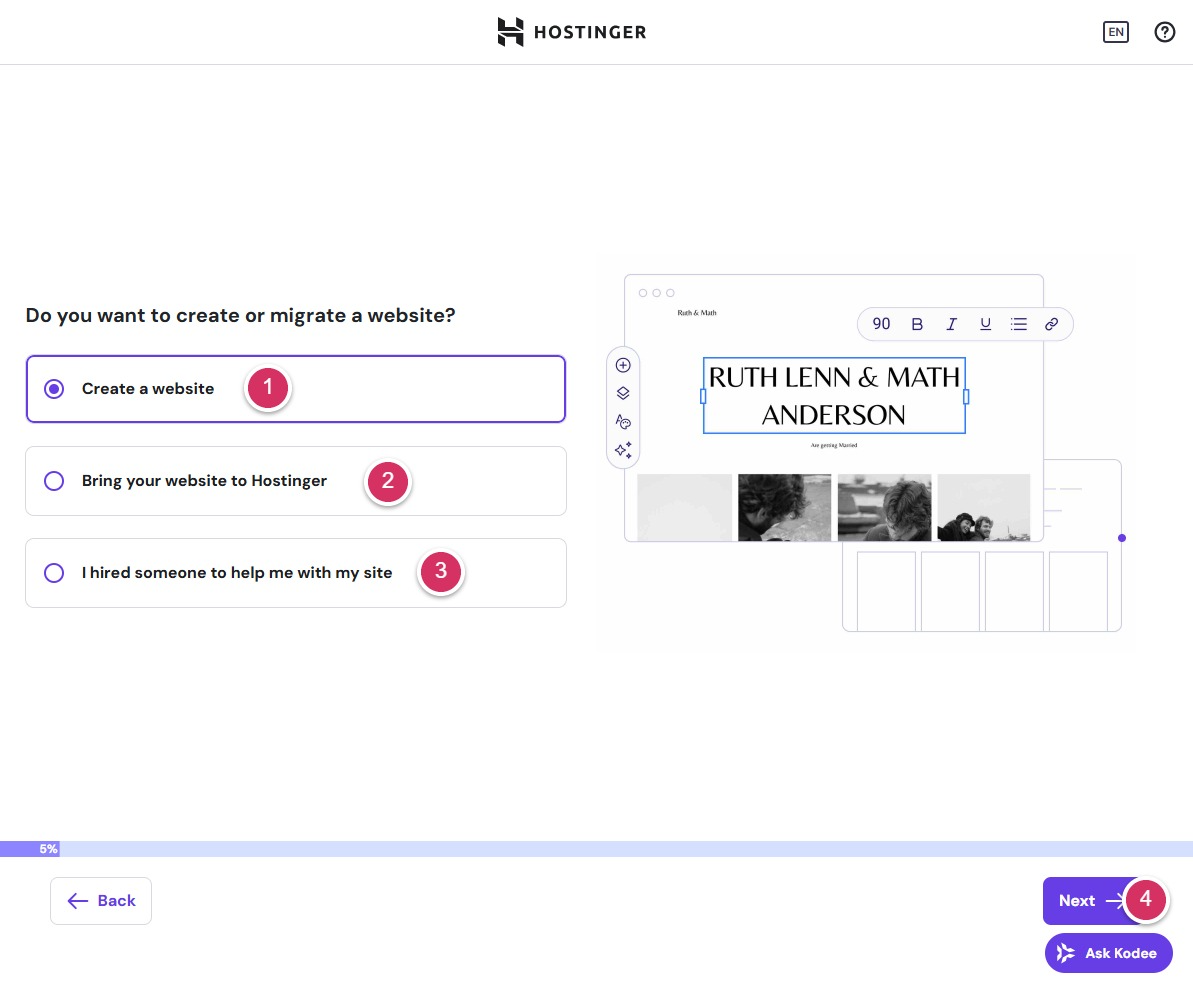
There are three options available:
- Create a website
- Migrating a website from another host
- Hired professionals to manage the website
Here we choose the first option to create a website.Click Next
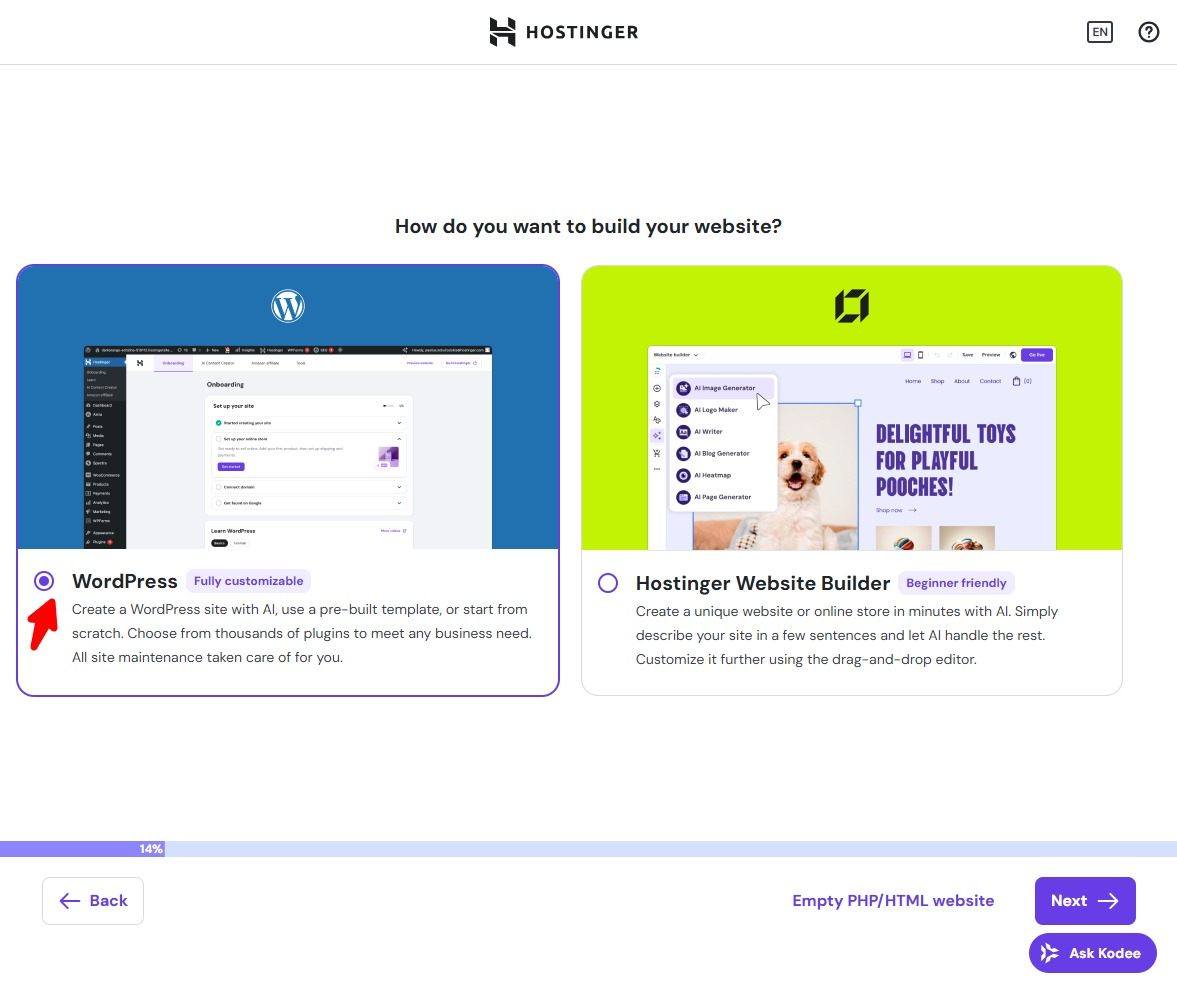
Select to install WordPress, then click Next.
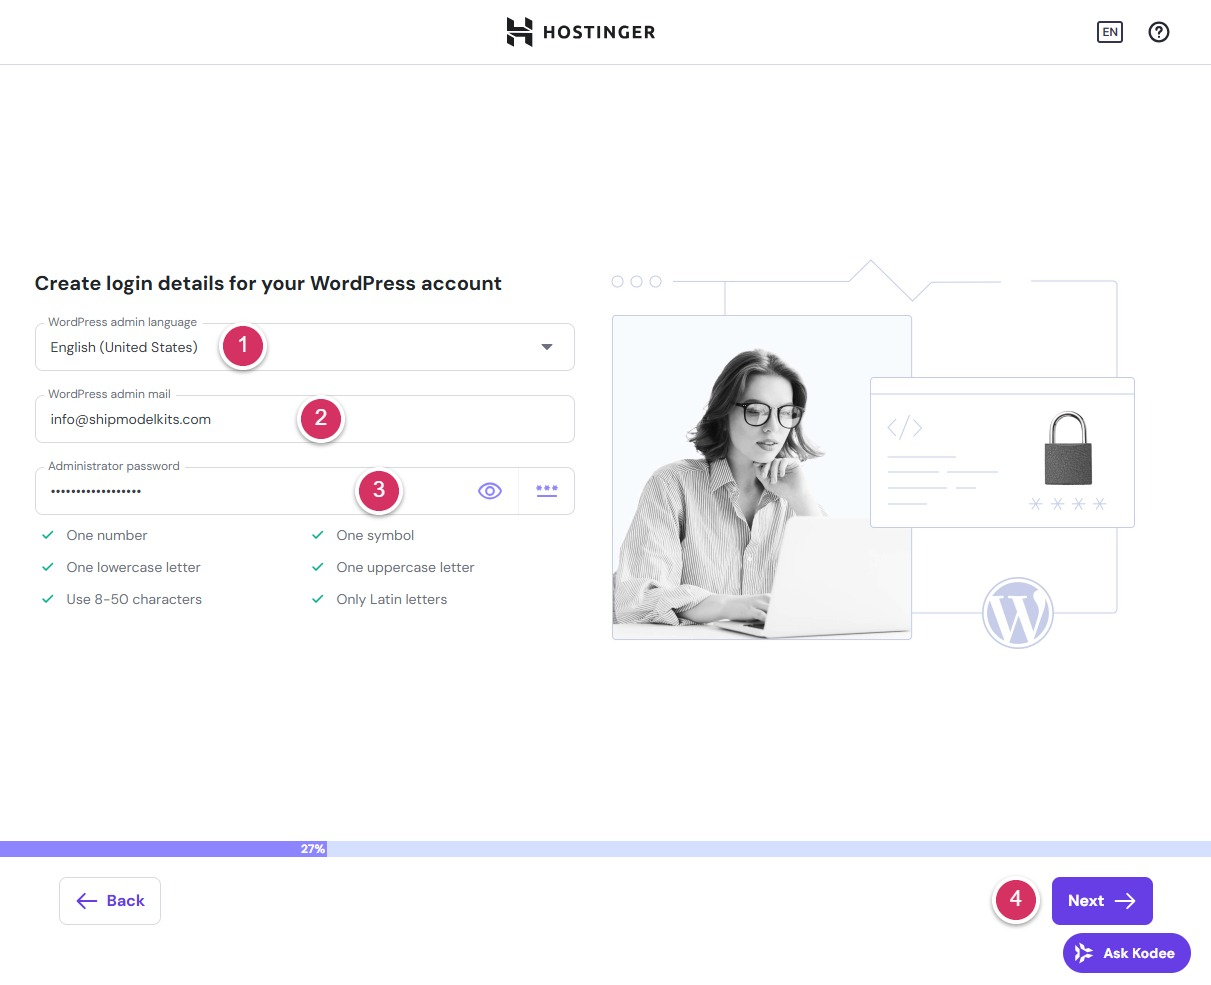
- Select your website admin panel language from the dropdown menu. You can switch languages at any time later. This refers to the language of the website’s backend management interface and has no effect on frontend content.
- Enter the website administrator’s corporate email address—that is, an account ending with the website’s domain name, such as info@yourdomain.com. Even if you don’t have this account yet, you can still enter it here, as you can apply to register this corporate email account later. All future website notifications will be sent to this email address.
- Enter your website backend login password. It must contain uppercase letters, lowercase letters, special characters, and numbers, with a minimum length of 8 characters. Make it as complex as possible, as this directly impacts website security. However, be sure to copy and save your username and password securely.For example, record it in your email or notepad. Losing them will make recovery extremely difficult.
- Click Next
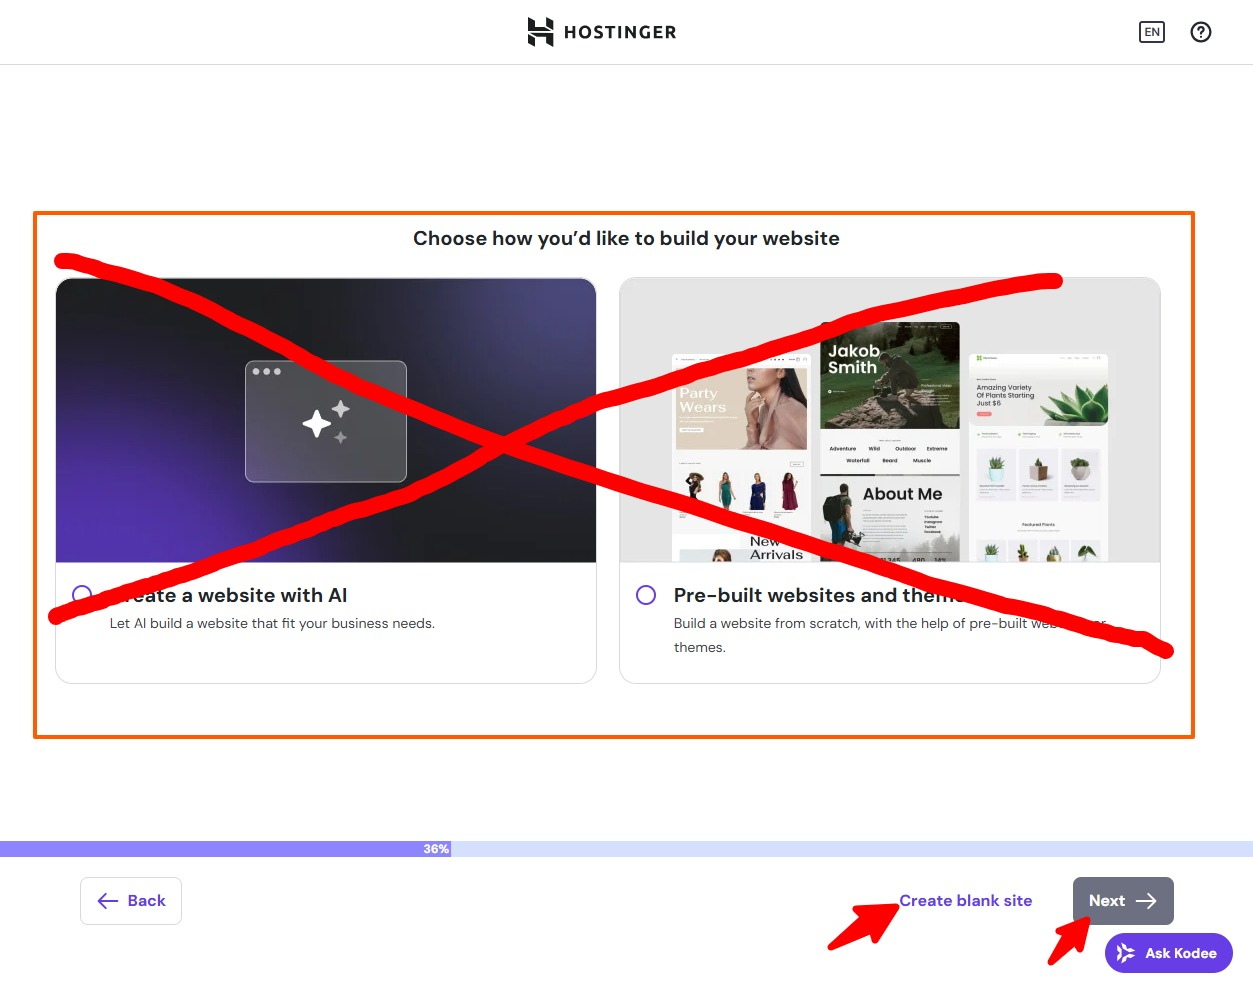
Do not select either of the displayed options in the next step. Click the Create Blank Site link below.
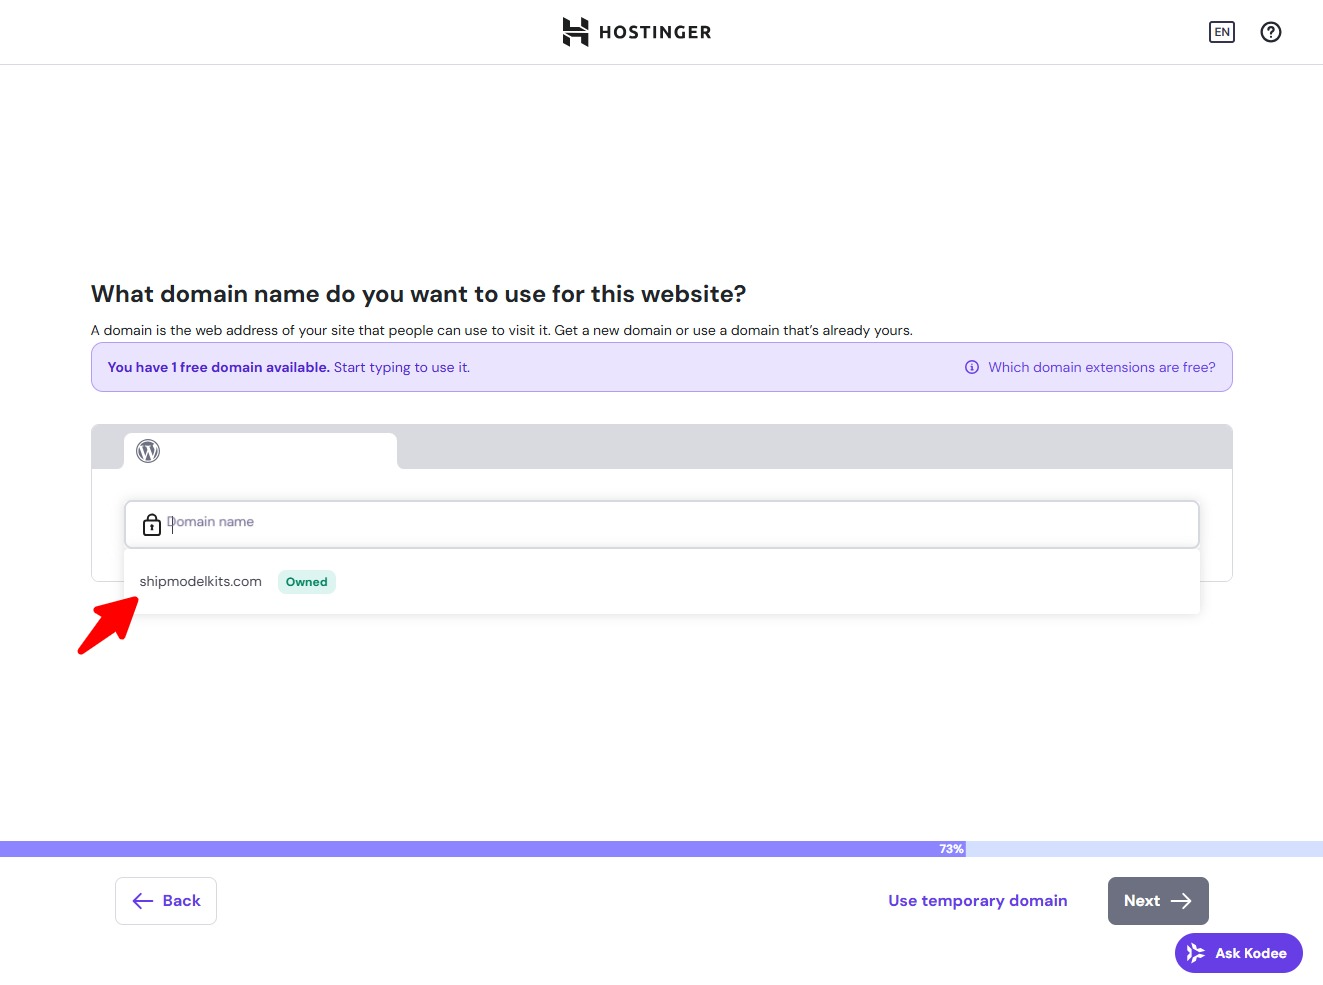
Select the domain name you wish to bind to this website. Here, I’ve chosen a domain name I registered earlier.
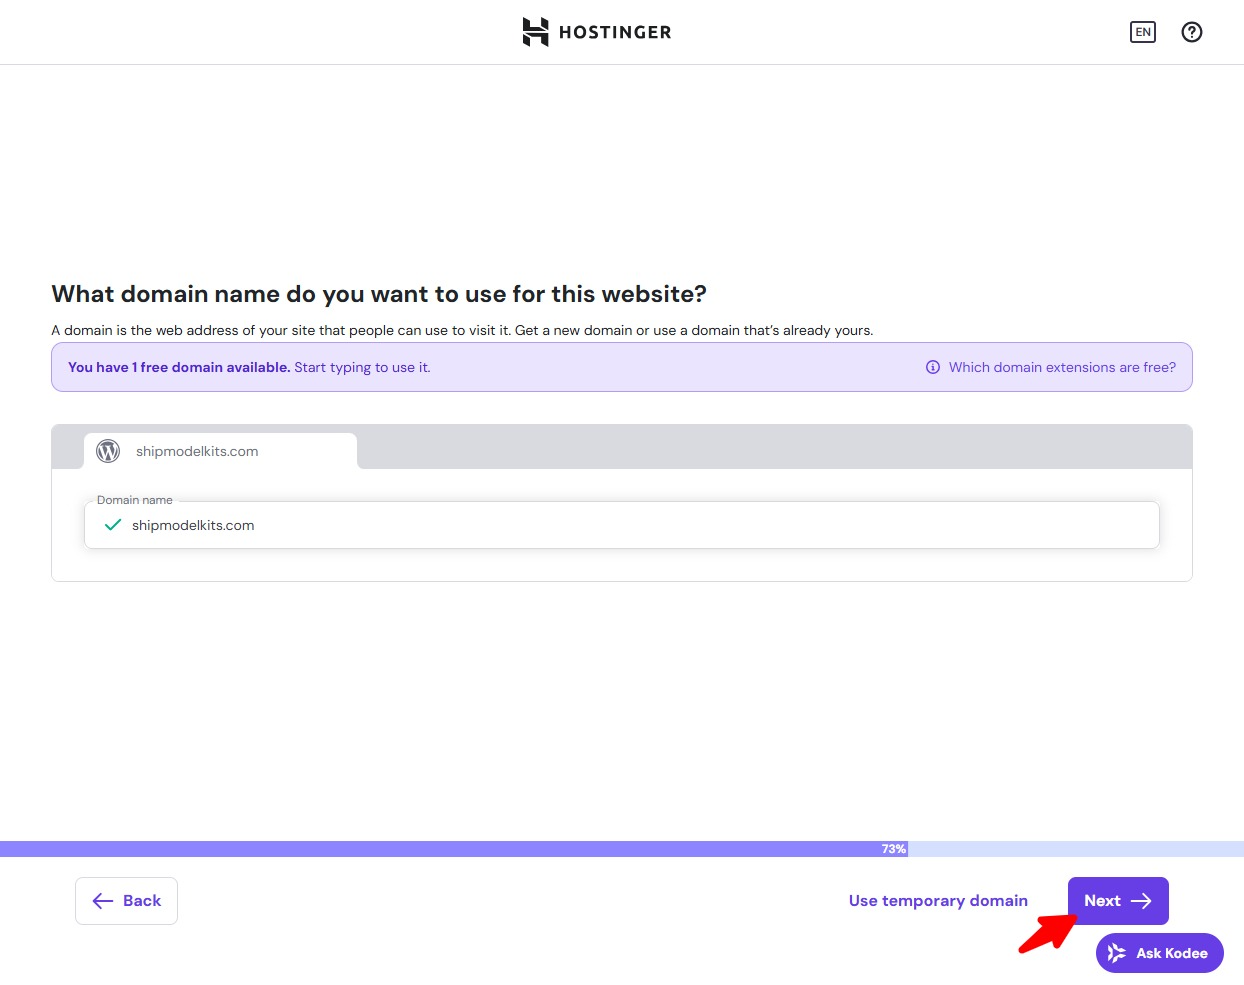
After selecting a domain name, the Next button becomes clickable. Click Next.
Next, proceed to the server location selection interface. From the dropdown menu, choose the country where you want your server to operate. Typically, select the location closest to your primary market and customer base. For instance, since this ship model website primarily serves European clients, I’ve chosen Germany. This ensures European customers enjoy optimal speed performance. In practice, if you later enable caching and CDN services, users worldwide will experience balanced access speeds. This is because CDN synchronizes data across global server nodes, distributing content to nearby users for faster delivery.
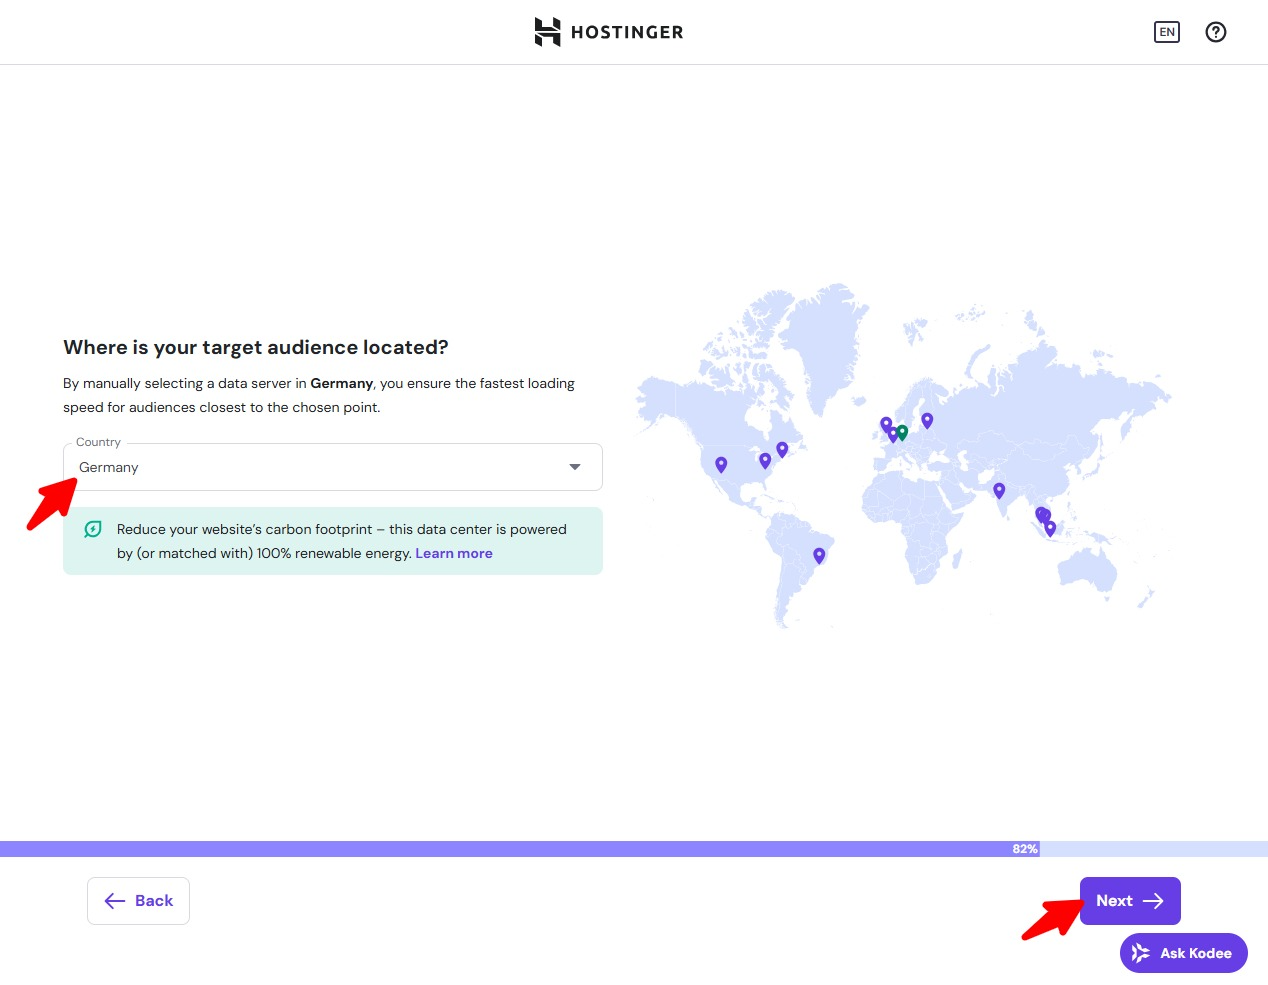
After selecting the server region, click Next. Accessing the WordPress core auto-install interface. Please wait patiently.
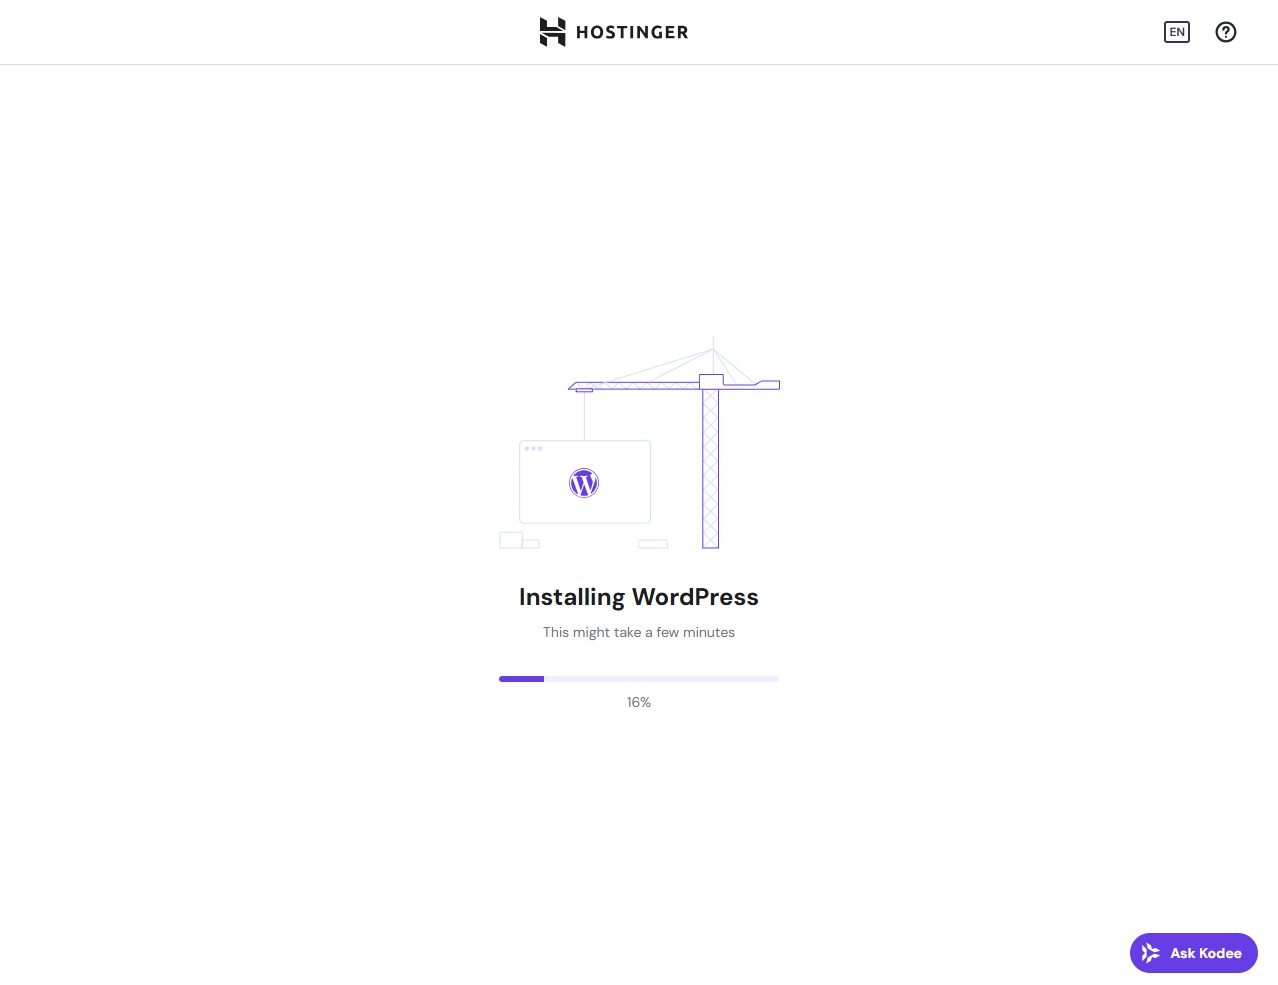
After installation completes, it will automatically redirect you to your WordPress site’s admin dashboard. At this point, you will still be using the system-generated subdomain.

Your website core is now fully installed. You can access your site by entering your domain name in your browser. However, you’ll see a nearly blank interface at this stage, as you’ve only completed the core installation—much like a newly constructed house that hasn’t been decorated yet, still in its raw state. We’ll cover how to perform a one-click decoration later, which is also quite simple.

For now, let’s log into the backend via your domain and make some essential initial settings.
Now you can open a new tab or window in your browser, enter your domain name followed by /wp-admin. This is the login address for your website’s backend management.
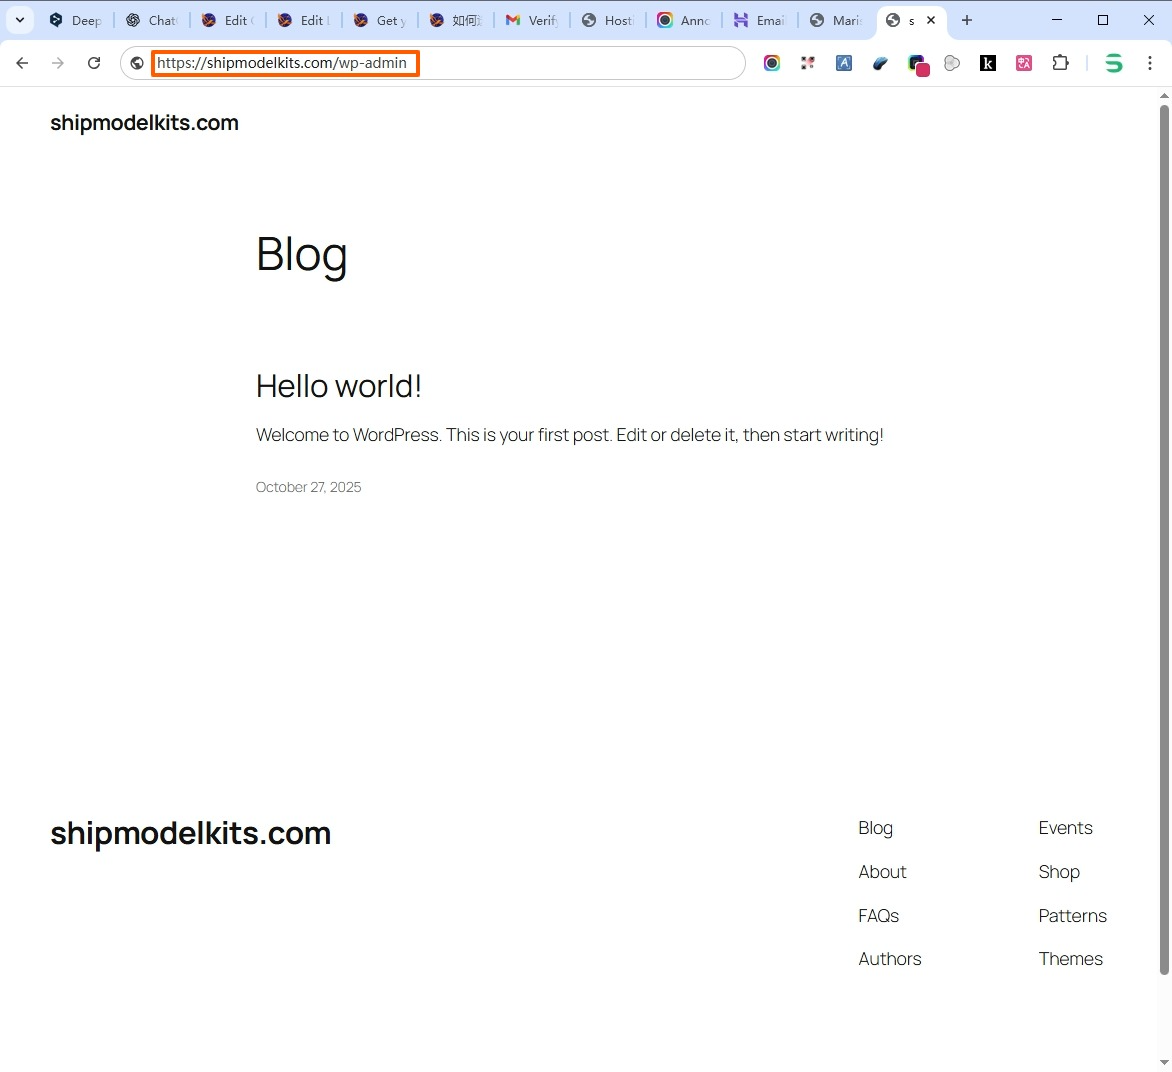
Enter your domain name followed by /wp-admin in the browser address bar to access the WordPress admin login page—your website’s management dashboard. Bookmark this page and save it alongside your previously set username and password in an email or notepad for future access to your site’s administration.

After entering the correct username and password, click Login to access your website’s administrative backend interface, as shown below:
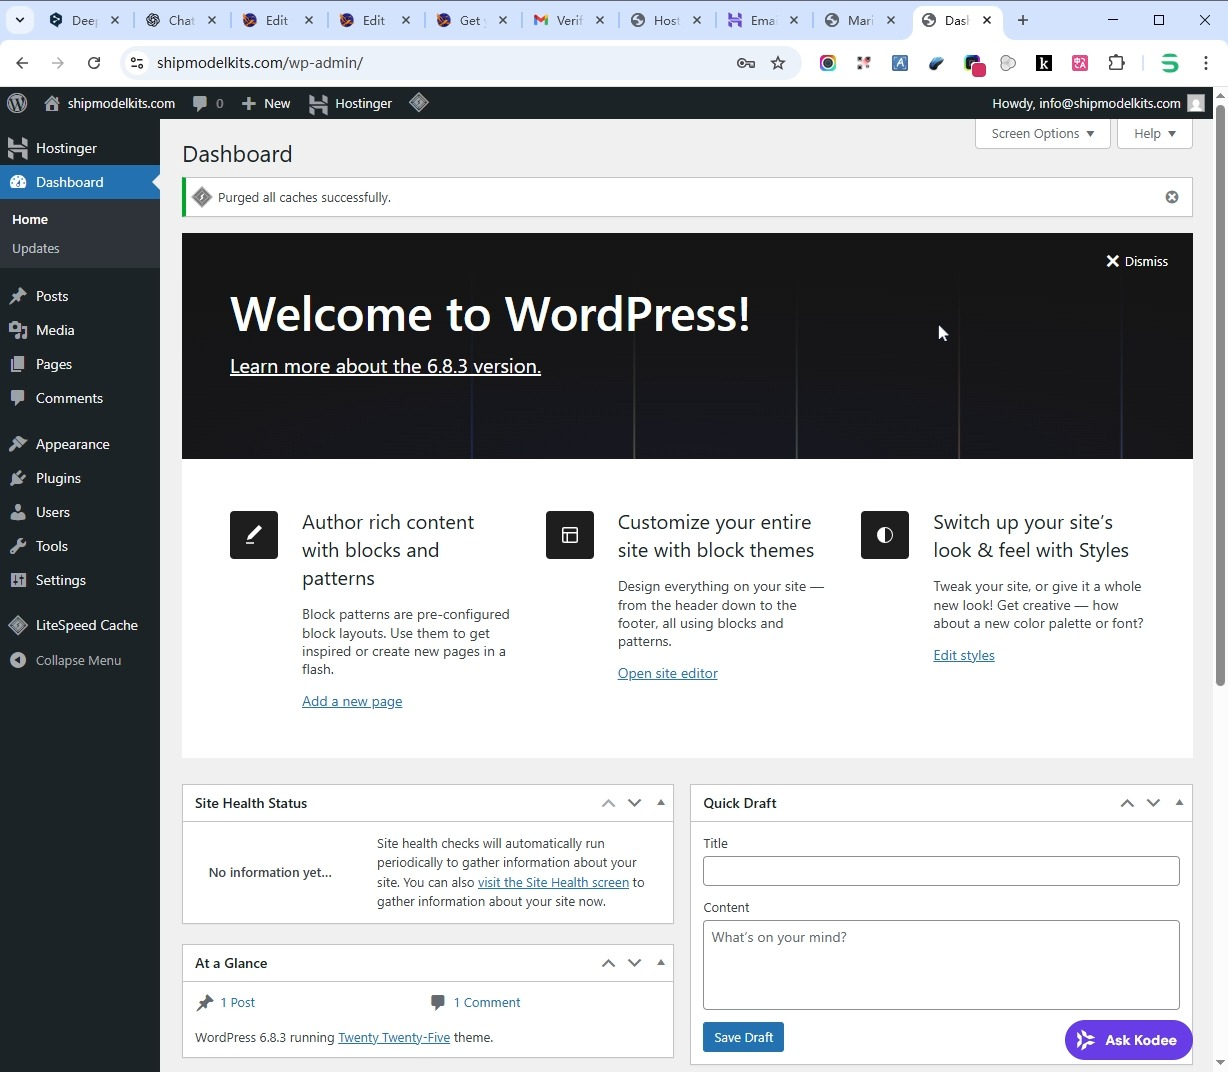
All future content, operations, and customers for your website will be managed here. Currently, it’s in its initial state—like a bare-bones space. Later, we can install extensions to make it incredibly beautiful and powerful.
The first thing you need to do now is temporarily block search engine crawlers from accessing and indexing your site. Since your website currently lacks formal content, you wouldn’t want its current state to appear in Google searches later, right? Therefore, you must first disable search engine indexing. Wait until your website is fully developed and content is complete before re-enabling indexing (remember to turn it back on).
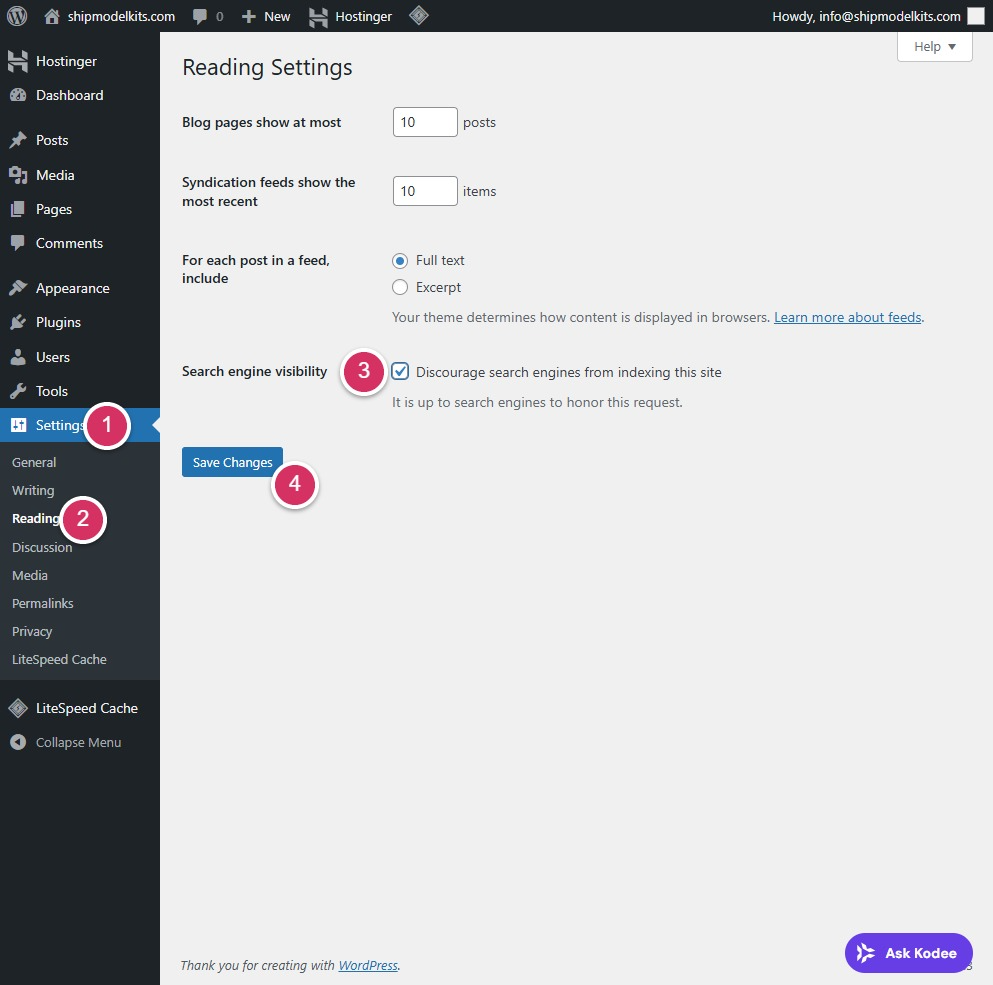
- Click the Settings menu on the left
- Click to Reading submenu
- Check the box Discourage search engines from indexing this site
- Click to save changes
After saving, search engines like Google will temporarily stop crawling and indexing your website pages. Once you’ve completed all website content and page work, reached a satisfactory state, and are ready to open your site to search engines and the public, return here to disable this option. Don’t forget to do this.Otherwise, search engines will never find your website.
Key Points of This Section:
What is the login page address for the WordPress admin dashboard?
Your domain name/wp-admin
What is the first thing to do after installing WordPress?
Block search engines from crawling and indexing
Where in WordPress do you manage search engine indexing?
Settings → ReadingNext unit we’ll cover WordPress functionality implementation—plugins.
Author Profile

- Freely.work Founder,15 years as a freelancer/digital nomad.Marketing consultant for Fortune Global 500 companies, digital marketing expert.
Latest entries
 December 17, 2025Mastering Google Search Console (GSC)
 December 16, 2025Yoast SEO Plugin: Overview, Benefits, and Installation Guide
 December 16, 2025What Is an SEO Plugin?
 December 2, 2025Adding Variable Products with Multiple Configurations